How to add custom fonts to Squarespace
Want to make your Squarespace website stand out from the crowd, and customise it for your brand? You can do this so easily - by just adding custom fonts with the Custom CSS feature. Squarespace already comes with many cool, free and premium fonts, but why not go the extra mile to make your website truly one-of-a-kind?
We've got you covered with our simple tutorial below, on adding custom fonts which you’ve bought from third-party places like, Creative Market, Google Fonts, MyFonts, and many more.
Ready to get creative? Let's dive in!
How to add custom fonts to your Squarespace site
Note: Before you get started, make sure your font files end in .WOFF or .OTF or .TTF. And always ensure you’ve purchased the correct licence for your fonts!
In the backend of your Squarespace website, head to the panel on the left hand side, and go to Design > Custom CSS.
Towards the bottom of your Custom CSS area, click on MANAGE CUSTOM FILES.
Now, you can either upload your relevant font file (.WOFF or .OTF or .TTF), or you can drag the file from your desktop to the upload window.
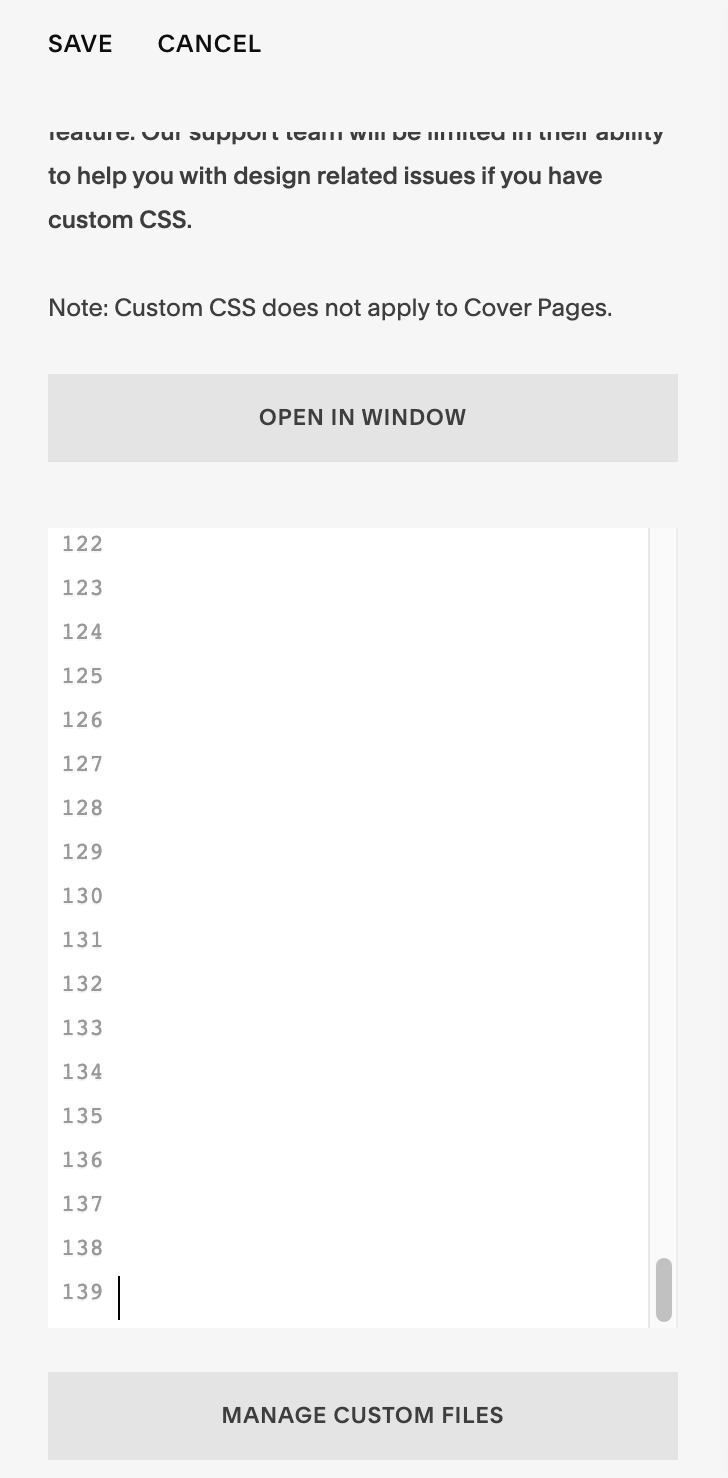
Now all you have to do is copy and paste the following CSS into the Custom CSS section (white area as pictured below).
The code:
@font-face {
font-family: 'YOURFONT';
src: url();
}
Replace the YOURFONT in the code above, with the name of your custom font. Here is an example:
@font-face {
font-family: 'Branch';
src: url();
}
Finally, you want to add the source (src) URL into the brackets. To do this:
Click between the parentheses after url
Then find & click on your font file under MANAGE CUSTOM FILES. The URL will be added to your code and, now your final code will look something like this (an example below, note the URL in between the parentheses):
@font-face {
font-family: 'Branch';
src: url(https://static1.squarespace.com/static/6303b79c27736455120cce67/t/6304fef89e30a955fe17fa9a/1661271800737/Branch+Updated.ttf);}How to assign the custom font
Note: In Squarespace 7.0, you have the following header and body text types: h1, h2, h3, p.
In Squarespace 7.1, you have the following header and body text types: h1, h2, h3, h4, p1 (.sqsrte-large), p2 (p), p3 (.sqsrte-small).
The font can be applied to any of the headers, body and button text on your website.
To do this, follow the below format, in your Custom CSS panel (white area) again:
h1 {
font-family: 'YOURFONT';
}

h2 {
font-family: 'YOURFONT';
}
And in each case, you want to replace YOURFONT with the name of your custom font, exactly as you named it in the code above.
For example,
h1 {
font-family: 'Branch';
}
If you want to apply the custom font to multiple headers/body text, then you can also write the following (example below shows application to ‘header 1’, ‘header 2’, ‘header 3’ and, ‘paragraph 1’ text):
h1, h2, h3, .sqsrte-large {
font-family: 'YOURFONT';
}
How to customise your font styles/properties
You can style your font further by applying the following code, and changing the individual values to what you need them to be:
h1 {
font-family: 'YOURFONT';
font-size: 40px;
font-weight: 300;
letter-spacing: 0.02em;
line-spacing: 2.0em;
color: #ff0000;
}
How to customise a specific block
You also have the option of applying the custom font to the header/body text within a specific block, only if you don’t want the changes made site wide.
#block-identifier {
h3 {font-family: 'YOURFONT'}}
In order to get your ‘block identifier’ for the above code, you will need to get the Chrome Extension, Squarespace ID Finder. With this extension you can get the ID for any Squarespace block and section (image below). So, your code should look something like this (an example):
#block-yui_3_17_2_1_1662139137288_8792 {
h3 {font-family: 'Branch'}}
Example of how the Squarespace Chrome Extension will show the block IDs.


